Artie supports single sign-on to your dashboard via OIDC. If you are using Okta, we have provider specific documentation for setting up SSO. If you are using another provider, just contact us!Documentation Index
Fetch the complete documentation index at: https://artie.com/docs/llms.txt
Use this file to discover all available pages before exploring further.
Okta
Okta
You need to be your company’s Okta and Artie admin to set this up
Create an Artie Okta application
To create an app, please do the following:
- Log in to your Okta admin dashboard
- Go to Applications > Applications
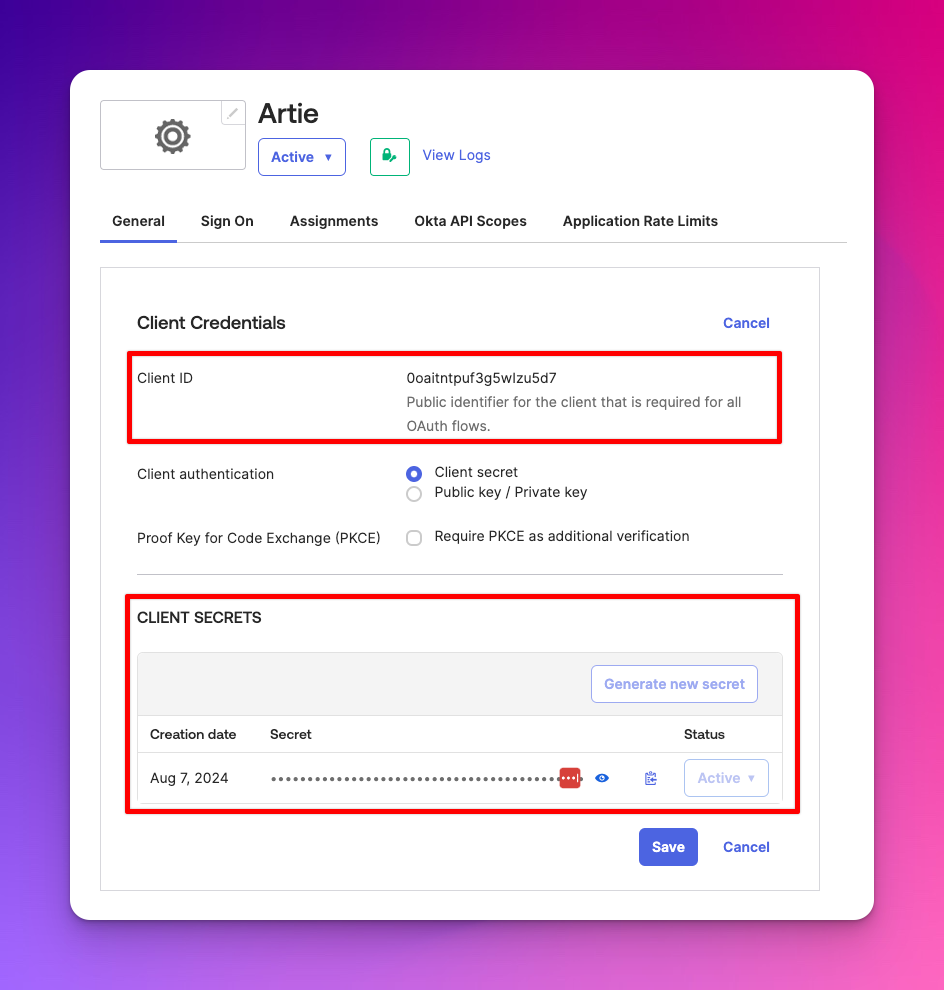
- Click “Create App Integration”, select “OIDC - OpenID Connect”, and pick “Web Application”
Fill in the form with the following values
- Application Name: Artie
- Grant type: Only “Authorization Code” should be selected
- Sign-in redirect URIs:
https://api.artie.com/sso/okta/callback - Sign-out redirect URIs:
https://api.artie.com/logout - (Optional) If you want to enable Artie as an Okta tile app. You can also specify
https://api.artie.com/sso/okta/loginas the “Initiate login URI”
Provisioning users (SCIM)
Artie supports automatic provisioning and deprovisioning users from Okta via SCIM integration (beta) — for access to this feature, contact us!Okta
Okta
This integration is used for provisioning only. Artie does not support SAML/SWA login through this SCIM app.To enable SSO, you must configure a separate SSO application in Okta.
Create SCIM API key in Artie
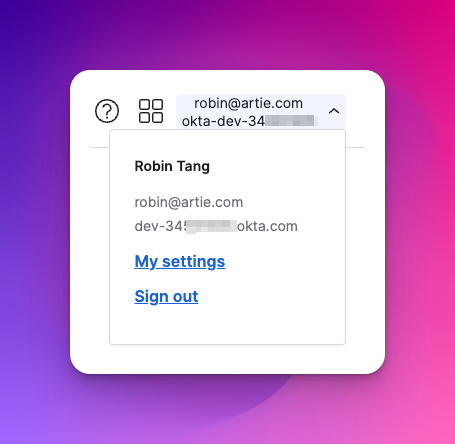
In Artie, Settings > Authentication, create a new API key with the 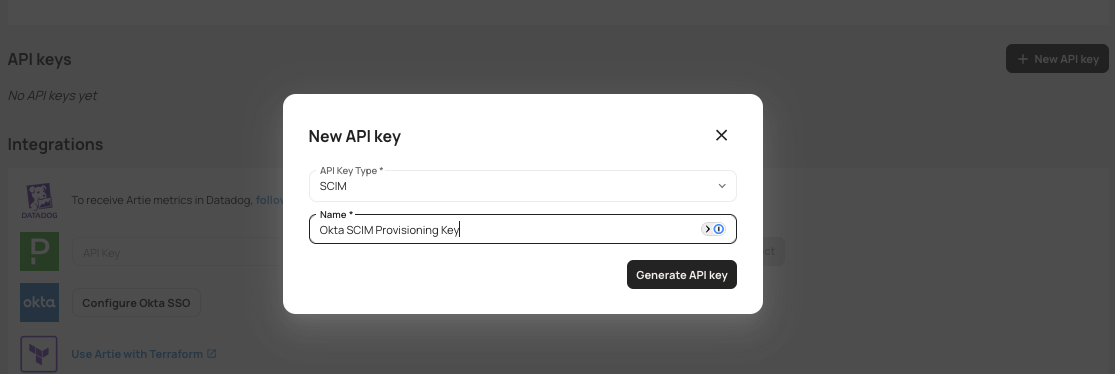
SCIM API key type.Create an Artie Okta SCIM application
Add the Oauth Bearer Token Governance with SCIM 2.0 integration to your Okta tenant.
Installation
On the General Settings page:
-
Set the Application label (for example:
Artie SCIM). -
Under Application visibility, uncheck
Display application icon to usersThis application should not be visible to end users because it does not support login.
Configure SCIM application
Open the newly created application and complete the following:
Configure SCIM provisioning
- Navigate to the Provisioning tab.
- Click Configure API Integration.
- Check
Enable API integration - Configure the following:
- Base Url:
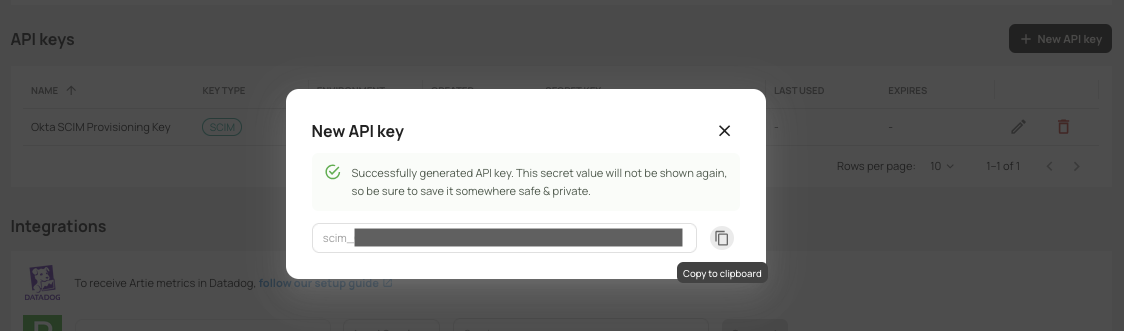
https://api.artie.com/scim/v2 - OAuth Bearer Token: Paste the SCIM API key generated in Step 1.
- Import Groups: Leave unchecked, as Artie’s SCIM integration does not support groups.
- Base Url:
- Click Test Integration, then Save.
Configuring this on Artie
Once you have gathered the information from above, go to the settings page in your Artie dashboard. Under “Authentication”, you can click “Configure Okta SSO”. Once all the necessary information is filled out, users can now log in through Okta SSO.Questions
User login flow
User login flow
To log in through SSO, users would:
- Go to the SSO login screen
- Enter their company email address
- If matched, an email will be sent to the user to log in
- It will prompt them to log in through their configured IDP
- They will then be redirected and authenticated into Artie